
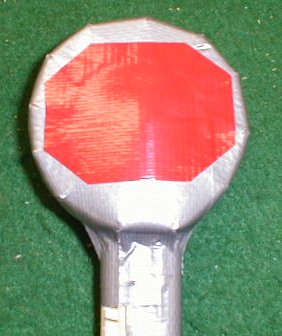
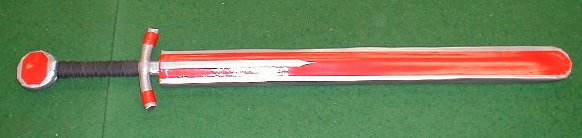
This section will explain step-by-step the construction of a
Kingdom of Stanislaus legal flat boffer.
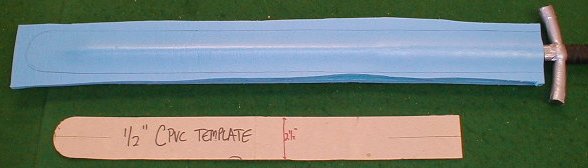
In this example, we will be making a sword with a 33" blade and an 8"
hilt, with straight 6" quillions.
You may use other materials and
designs as your skills progress but a solid grounding in the basic
weapon is necessary and quite franky, the bais sword works great
without modifcation!ng ( now Defunked)
READ THIS ENTIRE SECTION BEFORE BEGINNING.
TWICE!!
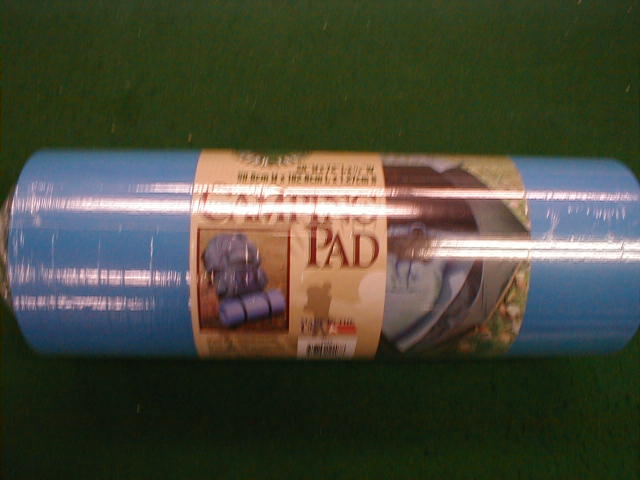
From Wal-Mart:
blue camping mat / sleeping bag pad
Any color athletic tape / hockey stick tape
poster board
From a good hardware store:
DAP (or similar) contact cement

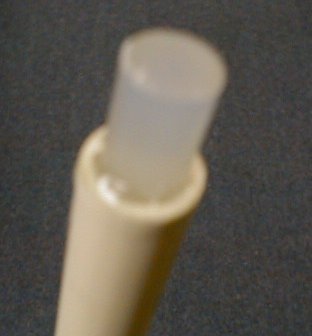
36" piece of 1/2" CPVC pipe
18" piece of 1/2" CPVC pipe
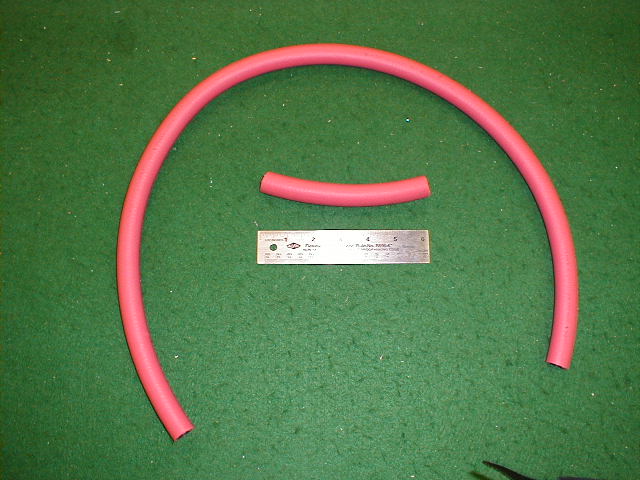
6" of heavy all-purpose hose (NOT garden hose)
duct tape
electrical tape
Tools List:
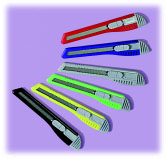
brand new cheap extendable snap-tip utility knife
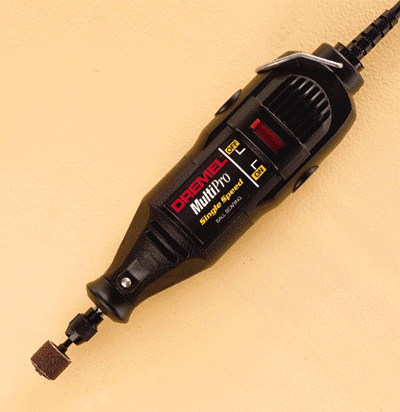
Dremel tool with cutting wheel OR jig-saw
X-Acto knife with sharp #2 fine point blade

pencil
ball point pen
ruler
cheap disposable foam brush
scissors
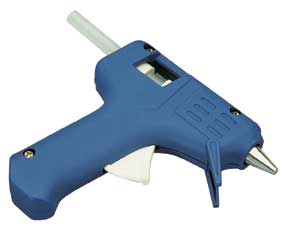
hot glue gun and several glue sticks
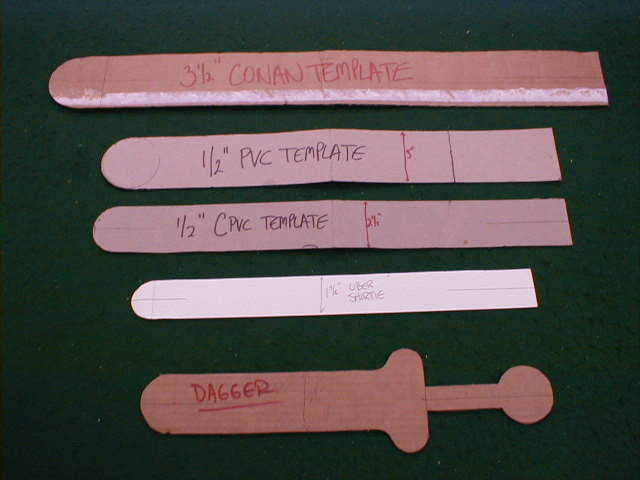
Make your blade template on the posterboard.
Your blade can be whatever shape you wish, but MUST follow the following rules:
NO pointy protrusions that could impact someone's eye.
Blade MUST be at least 1 7/8" wide. 2 1/2" is recommended to start with (this is what we will build in this example)
Using your pencil, draw a 36" line in the middle of the posterboard. This is your center line.
Mark off 1 1/4" on either side of your center line.
Make one end rounded.
Draw a 3" line in heavy pen from the rounded tip down the blade center.
Draw a 3" line in heavy pen from the flat end down the blade center.
Cut this out with scissors.
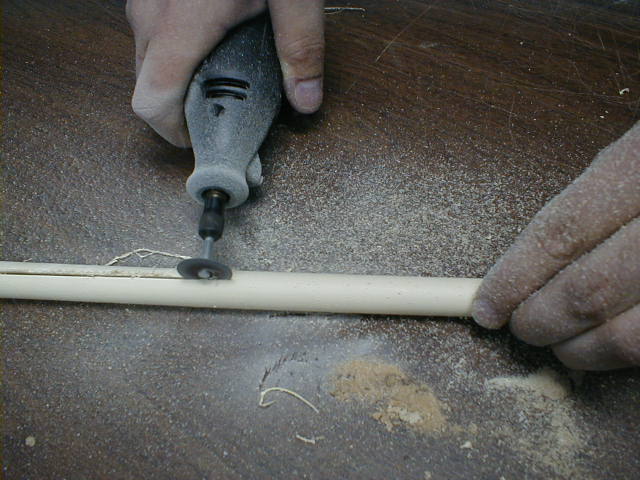
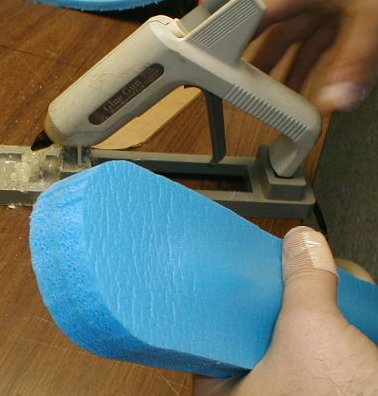
Prepare your core.
Using the Dremel, split the 18" piece of CPVC lengthwise, making two troughs.
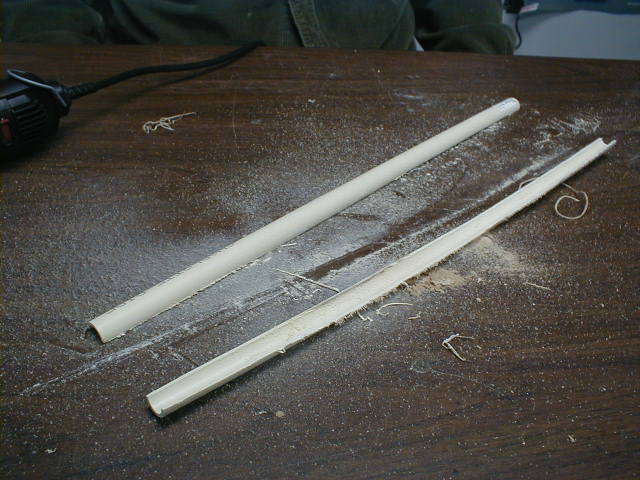
With the hot glue gun, stick these to one end of the 36" piece of CPVC, on opposite sides sandwiching it.
These splints will cut down on the flex of the blade, as well as create a ready-made hilt.
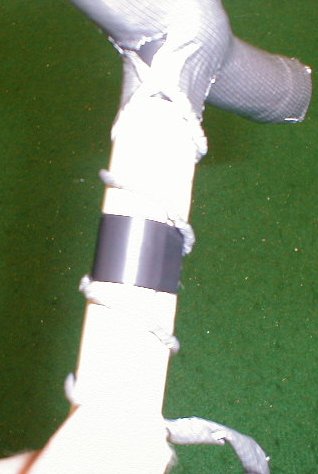
When the glue has dried, wrap electrical tape tightly around the splinted half of the blade every few inches.
With duct tape, cover the pommel end of the sword to protect the foam from the sharp edges of the cpvc. (two pieces is usually enough)
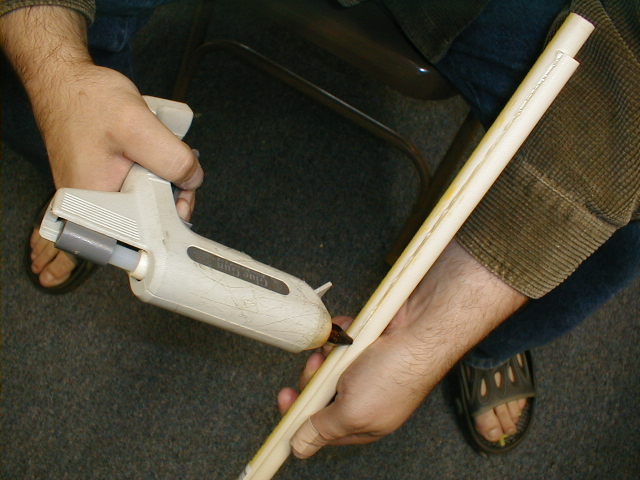
Cut a glue stick in half, and glue it into the tip of the sword with more hot glue.
Make a heavy mark 7" from the pommel end.
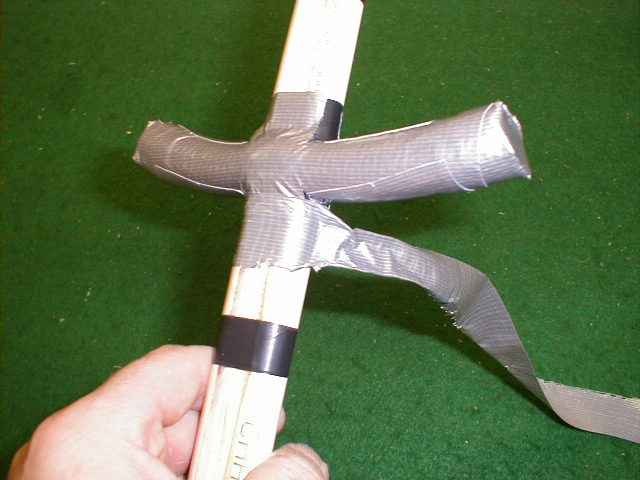
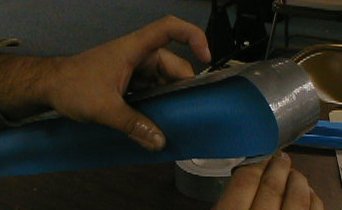
Make your quillions.
Measure your hose and mark the center with pen, drawing a ring around the middle.
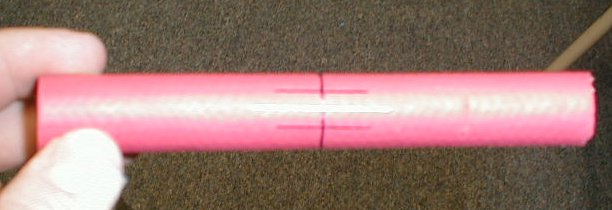
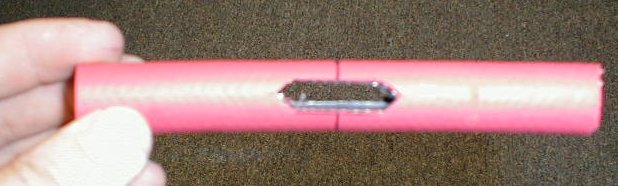
Using your X-Acto knife, cut a slit 1 1/4" long lengthwise across the middle of the pipe.
Make two more cuts, 1" long, 1/4" on either side of the first.
Connect these three cuts, making an elongated hexagon in the middle of the hose.
Repeat on the other side of the hose.
Slide the hose onto the core, down to the mark 7" from the pommel. It should fit very tightly.
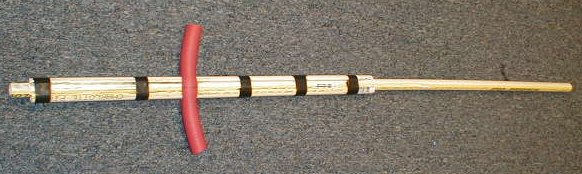
Use electrical tape in an X pattern to secure the hose to the core.
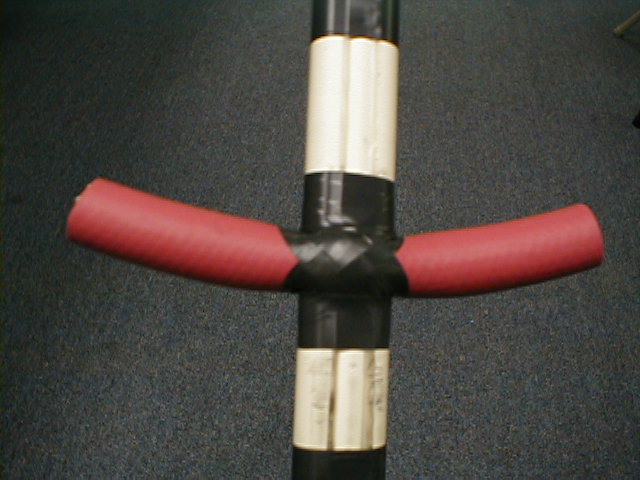
Cover the hose neatly in duct tape. Cover the ends first.
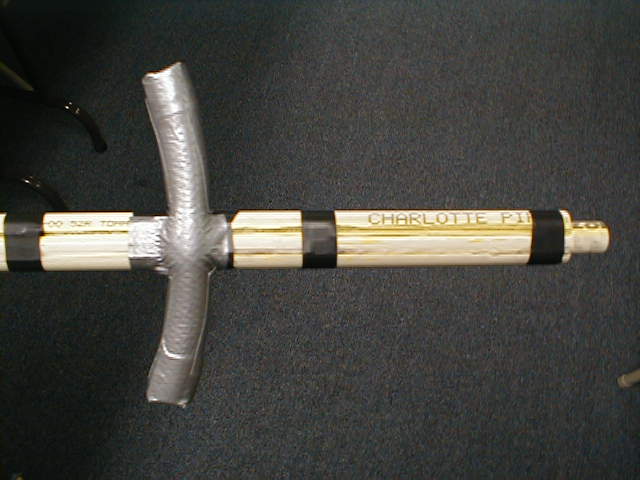
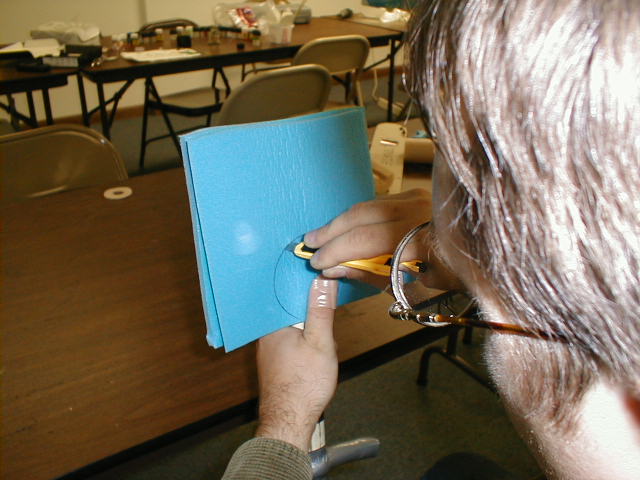
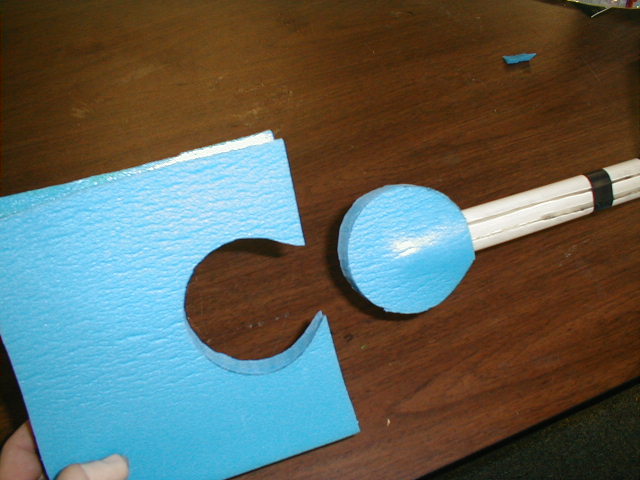
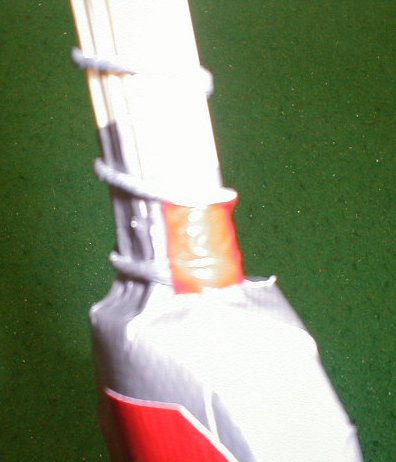
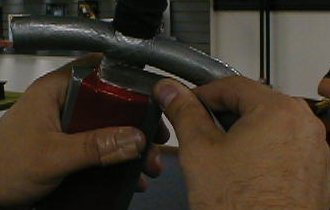
Make your pommel.
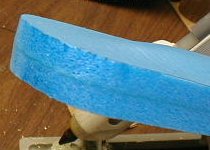
Cut two square pieces of camping mat 6" x 6".
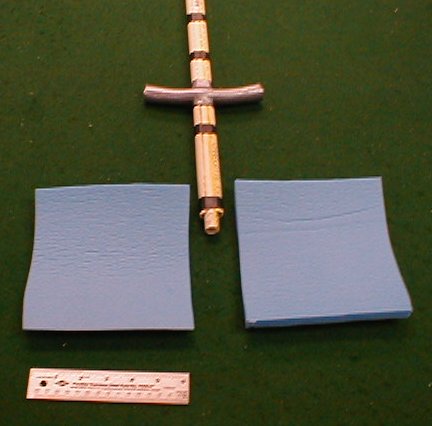
With DAP, lightly coat the last inch of the pommel. Also coat one side of each piece of mat.
Let dry. (Note on contact cement: you MUST let the cement dry 15 minutes minimum before attempting to stick pieces together. This cannot be stressed enough.)
Stick the two squares together, sandwiching the last 1" or so of pommel between them.
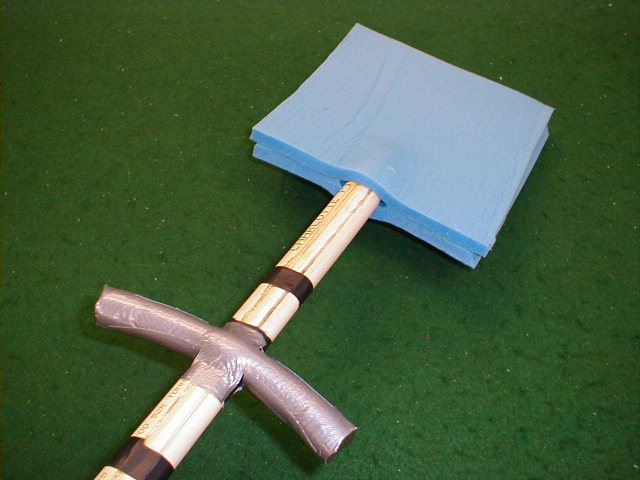
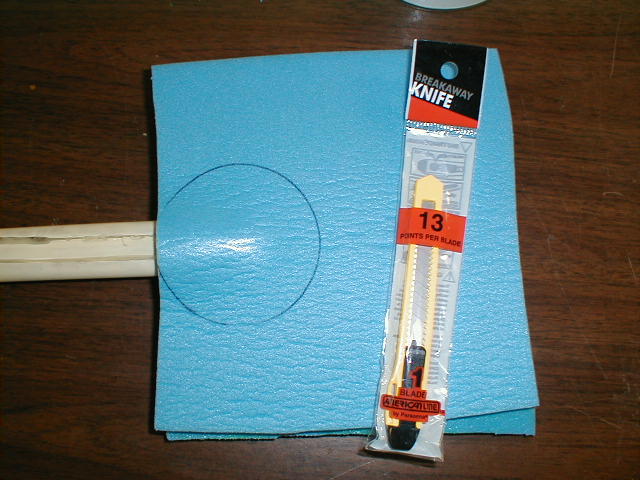
Trace the inside circle of your duct tape roll onto the pommel square.
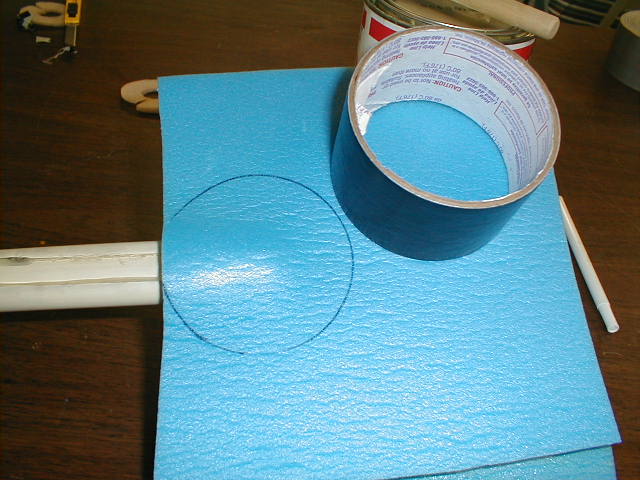
Using your extendable utility knife, cut this circle out.
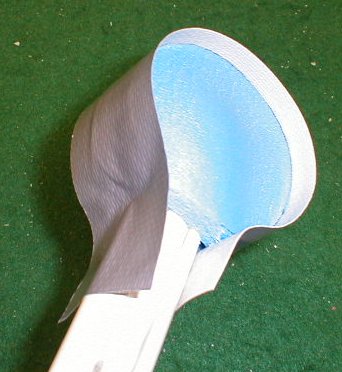
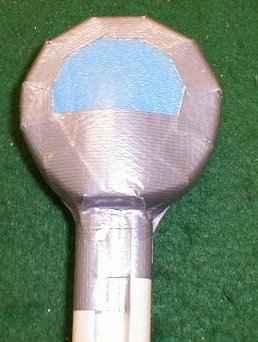
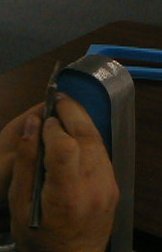
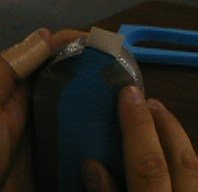
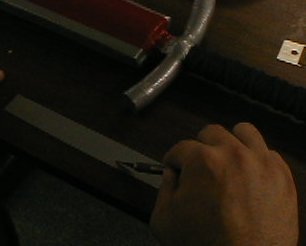
Neatly tape it up. When taping weapons, it is best to tape the edge first, then the flat parts. It is necessary to make many cuts in the overhanging tape with your X-Acto on rounded parts, so the tape will overlap and lay smoothly. Try to leave some tape overlapped onto the hilt, so the hilt wrap will anchor it to the sword.

Wrap your hilt.
Cut a strip of duct tape about 18" long, then split it in half. Stick the first inch of one half to the top of the hilt to secure it, then spin it into a cord between your fingers. Wrap this cord tightly around the hilt and secure it at the bottom near the pommel. Then do the same going the other direction. This will provide a textured surface similar to a katana hilt to grip.
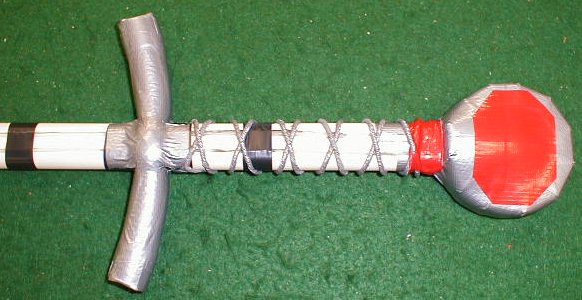
Using your black hockey tape, spiral wrap the hilt. If your hilt is not fat enough, try building it up with leftover posterboard or corrugated cardboard before you tape it. Hot glue works well to secure these.
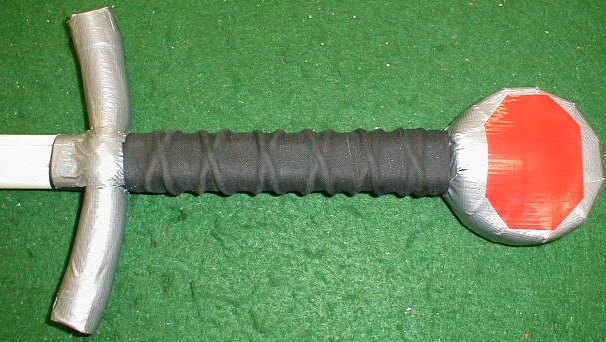
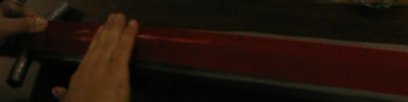
Make your blade.
Cut out two long rectangles of camping mat, 3" wide and 35" long. These measurements need not be exact, they are designed to allow you room to make errors. The exact sword blade dimensions will come from your template.

With DAP, lightly coat the exposed core and one side of each piece of mat.
Let dry. (Note on contact cement: you MUST let the cement dry 15 minutes minimum before attempting to stick pieces together.)


Lightly stick one piece to the core, trying to center it, and leaving an inch above the quillions open.

Lightly stick the other to the core, not letting it touch the first yet.


Holding the sword vertically, gently and carefully press the two halves together using your thumb and fingers on either side of the core. Be careful to make the blade straight from the core. If you press the two halves together while flat on a table, you will get a lopsided blade.

Let dry. Leave it alone for an hour. Go read the forums or something...
Place your template on the blade.
The point should be two to three inches from the end of the core.
Trace it, making sure it is
centered. Sometimes an extra pair of hands helps here.
Hold the sword vertically. Using
your utility knife, slice your blade out along the lines.

If you make a mistake, leave a lump,
etc., you can use the hot tip of your glue gun to smooth it out. BE
CAREFUL! You can easily ruin your blade doing this too much.

Neatly tape it up. When taping
weapons, it is best to tape the edge first, then the flat parts.
It is necessary to make many cuts in
the overhanging tape with your X-Acto on rounded parts, so the tape
will overlap and lay smoothly.
Try to leave some tape overlapped
onto the inch of exposed core at the bottom, so that a final thin strip
around there at the end will anchor it to the sword.

Tips:
LET YOUR DAP DRY!!
If you don't have the tools to split the CPVC splints, try a dowel core halfway up the core instead.
Try to use a single strip of tape to tape the entire edge.
Cut the duct tape with the X-Acto whenever possible, don't rip it.
Use as little tape as possible.
Whenever you can, use duct tape, even if you have to split it in half with your X-Acto.
LET YOUR DAP DRY!!!
Use combinations of colors (black, red, brown, silver) to make your sword stand out, or all black for a sneaky weapon.
The more twisties and curvies your blade has, the harder it is to tape neatly.
Keep your knives sharp. The utility knife you use for this sword SHOULD NOT be used for another. It is already too dull. Don't be cheap, they cost 45 cents each...
LET YOUR DAP DRY!!
A strip of leather from an old coat or backpack bottom makes a great hilt grip.
Try substituting a racquetball or a tennis ball for a pommel. Fill it with hot glue for a counterbalance.
Use a three, six, or nine inch lag bolt to counterbalance your hilt.
To make a curved blade, heat the CPVC gently with a blowtorch and bend it AWAY from the heated side.
LET YOUR DAP DRY!!
Some notes on the building process:
We have totally eliminated the "Splints" on the core in the beginning section of this document. Instead, we core the PVC
with a fiberglass rod such as those used for driveway reflectors. Incidentally, you can leave the round reflector on the end of the weapon as a pommel if you so choose. Just be sure you balance the weapon in some other way or the sword will come out blade heavy. A good suggestion is to hot glue or Epoxi washers to the reflector. multiple layers in different sizes (largest to smallest) to add a nice demention to the pommel. finish off with a nice taping or paint job.
This document will be updated in the near future to reflect this change. until then, here is how you core your PVC weaponshaft with the Fibrglass.
- Step 1: Prepare your fiberglass inner core by loosely wrapping it in duck tape, this can be done messy and full of creases as the intent is to fill up the space in the pvc.
- Step 2: measure the fiberglas rod against your PVC core and cut the rod with a hacksaw so that there is at least 1"inch of head space on each end.
- Step 3: insert fiberglass rod into PVC core and line it up, use a small hammer or piece of wood to tap it into place if needs be. This should be a tight but not impossible fit.
- Step 4: Line up the head space on each side and fill both
ends of the PVC with hot glue.
All this should be done BEFORE any hilt work is done.